Ubuntu 16.04にsambaサーバを立ち上げて、Ubuntu 16.04とWindows 10でファイル共有する手順を記載します。
Table of Contents
1 環境
sambaをインストールするマシンのIPアドレスは192.168.11.66です。
2 sambaのインストール
aptでsambaをインストールします。
$ sudo apt-get install -y samba
3 pdbedit
pdbeditでsambaへアクセスできるユーザを追加します。
$ sudo pdbedit -a hiroom2
new password:
retype new password:
4 /etc/samba/smb.confの設定
ここではホームディレクトリと共有ディレクトリのアクセスを可能にする設定について記載します。
設定が完了した後、systemctlでsmbdとnmbdを再起動します。
$ sudo systemctl restart smbd nmbd
4.1 ホームディレクトリ共有
以下の設定では、pdbeditで作成したユーザのホームディレクトリをユーザ個人用にアクセスできるようになります。
valid usersの%Sにアクセスしようとしているディレクトリ名が設定されます(\\192.168.11.66\hiroom2なら%Sにhiroom2が設定され、hiroom2のみがアクセスを許可されます)。
$ diff -uprN /etc/samba/smb.conf{.org,}
--- /etc/samba/smb.conf.org     2016-05-10 09:12:05.384991245 +0900
+++ /etc/samba/smb.conf 2016-05-10 09:27:31.371397316 +0900
@@ -190,13 +190,13 @@
 # Un-comment the following (and tweak the other settings below to
 # suit)
 # to enable the default home directory shares. This will share each
 # user's home directory as \\server\username
-;[homes]
-;   comment = Home Directories
-;   browseable = no
+[homes]
+   comment = Home Directories
+   browseable = no

 # By default, the home directories are exported read-only. Change the
 # next parameter to 'no' if you want to be able to write to them.
-;   read only = yes
+   read only = no

 # File creation mask is set to 0700 for security reasons. If you want
 # to
 # create files with group=rw permissions, set next parameter to 0775.
@@ -211,7 +211,7 @@
 # Un-comment the following parameter to make sure that only
 # "username"
 # can connect to \\server\username
 # This might need tweaking when using external authentication schemes
-;   valid users = %S
+   valid users = %S

 # Un-comment the following and create the netlogon directory for
 # Domain Logons
 # (you need to configure Samba to act as a domain controller too.)
4.2 全ユーザ共有ディレクトリ
以下の設定では、pdbeditで追加したユーザでディレクトリを共有できます。
$ diff -uprN /etc/samba/smb.conf{.org,}
--- /etc/samba/smb.conf.org     2016-05-10 09:38:31.909847328 +0900
+++ /etc/samba/smb.conf 2016-05-10 09:46:25.758629642 +0900
@@ -187,6 +187,14 @@

 #======================= Share Definitions =======================

+[share]
+   comment = Share directory
+   path = /var/lib/share
+   read only = no
+   guest only = no
+   guest ok = no
+   share modes = yes
+
 # Un-comment the following (and tweak the other settings below to
 # suit)
 # to enable the default home directory shares. This will share each
 # user's home directory as \\server\username
共有ディレクトリのアクセス権は0777にします。
$ sudo mkdir /var/lib/share
$ sudo chmod 0777 /var/lib/share
5 Windows 10からsambaへアクセスする
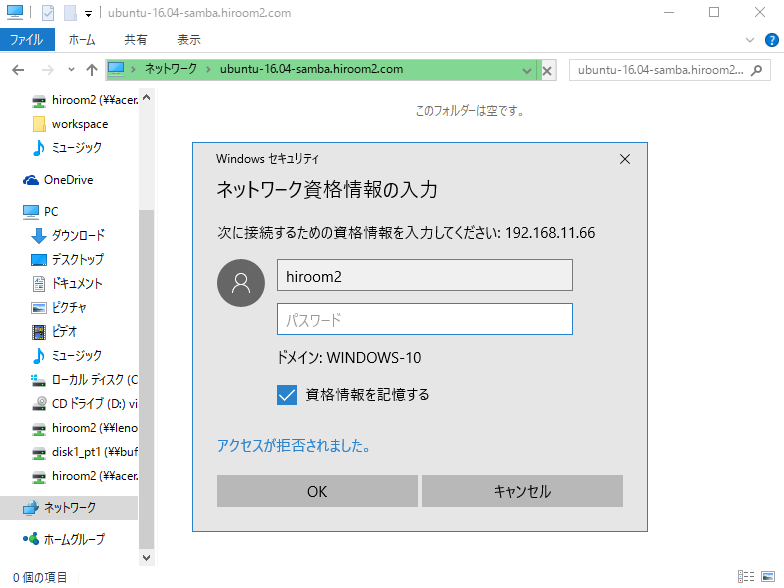
\\192.168.11.66\hiroom2へアクセスします。
pdbeditで入力したユーザ名とパスワードを入力します。
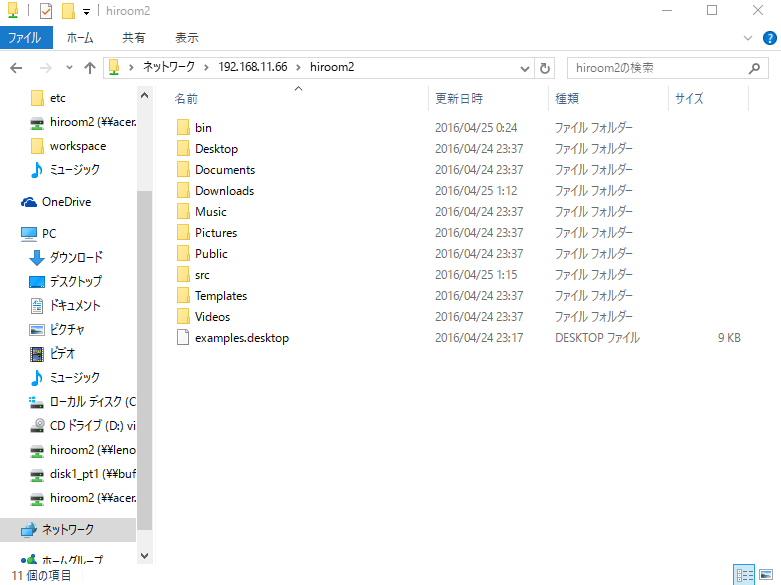
Ubuntu 16.04のホームディレクトリへアクセスできました。
5.1 ネットワークドライブの割り当て
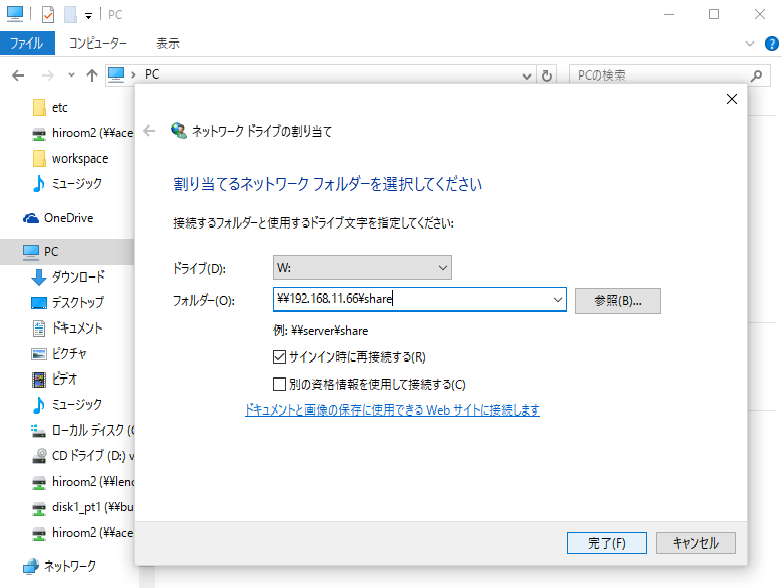
ネットワークドライブの割り当てを実行することでパスの入力が不要になります(ログイン時に自動でsambaへ接続してドライブに割り当てられます)。
PCを表示させて、メニューの「ネットワークドライブの割り当て」を選択します。
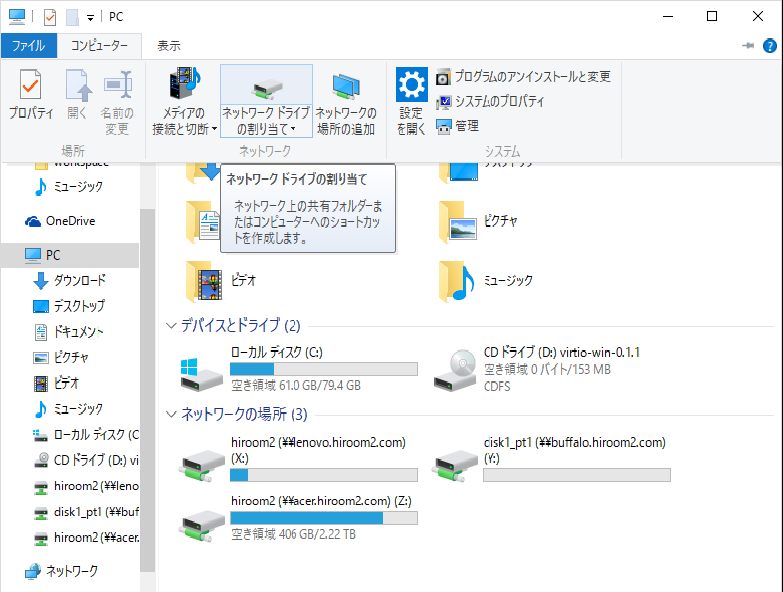
ここでは、\\192.168.11.66\shareを追加します。
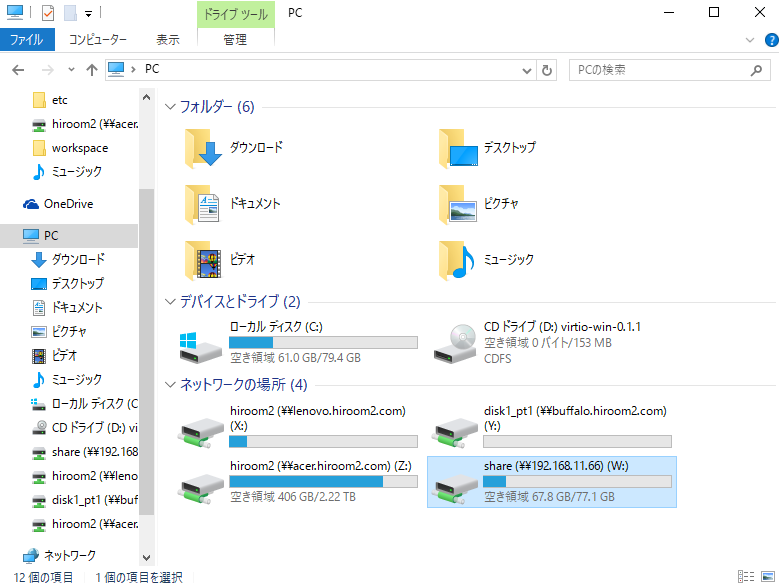
PCにネットワークドライブが追加されました。