ウェブベースのシステムモニタリングツールのNagiosをインストールする手順を記載します。
Table of Contents
1 Nagiosのインストール
以下のスクリプトでNagiosをインストールします。NAGIOS_PASSWDはBasic認証のnagiosadminユーザのパスワードで使用します。
NAGIOS_PASSWD=nagios

sudo yum install -y epel-release
sudo yum install -y nagios nagios-plugins-*

# Apache2
sudo htpasswd -db /etc/nagios/passwd "nagiosadmin" ${NAGIOS_PASSWD}
sudo systemctl enable httpd
sudo systemctl restart httpd
sudo firewall-cmd --add-service=http --permanent
sudo firewall-cmd --reload

# https://bugzilla.redhat.com/show_bug.cgi?id=1291734
cat <<EOF > nagios-socket.te
module nagios-socket 1.0;
require {
  type nagios_t;
  type nagios_log_t;
  class sock_file { write create unlink };
  class unix_stream_socket connectto;
}
allow nagios_t nagios_log_t:sock_file { write create unlink };
allow nagios_t self:unix_stream_socket connectto;
EOF
checkmodule -M -m -o nagios-socket.mod nagios-socket.te
semodule_package -m nagios-socket.mod -o nagios-socket.pp
sudo semodule -i nagios-socket.pp
rm -f nagios-socket.te nagios-socket.mod nagios-socket.pp

cat <<EOF > nagios-statusjsoncgi.te
module nagios-statusjsoncgi 1.0;
require {
  type nagios_script_t;
  type nagios_spool_t;
  class file { getattr read open };
}
allow nagios_script_t nagios_spool_t:file { getattr read open };
EOF
checkmodule -M -m -o nagios-statusjsoncgi.mod \
            nagios-statusjsoncgi.te
semodule_package -m nagios-statusjsoncgi.mod \
                 -o nagios-statusjsoncgi.pp
sudo semodule -i nagios-statusjsoncgi.pp
rm -f nagios-statusjsoncgi.te nagios-statusjsoncgi.mod \
   nagios-statusjsoncgi.pp

sudo setsebool -P daemons_enable_cluster_mode 1

sudo systemctl enable nagios
sudo systemctl restart nagios
NagiosのApache2の設定は以下のファイルに記載されています。Digest認証にしたりURLを変更するにはこのファイルを編集します。
/etc/httpd/conf.d/nagios.conf
2 Nagiosへアクセスする
デフォルトでは以下のURLへアクセスします。
http://<server>/nagios
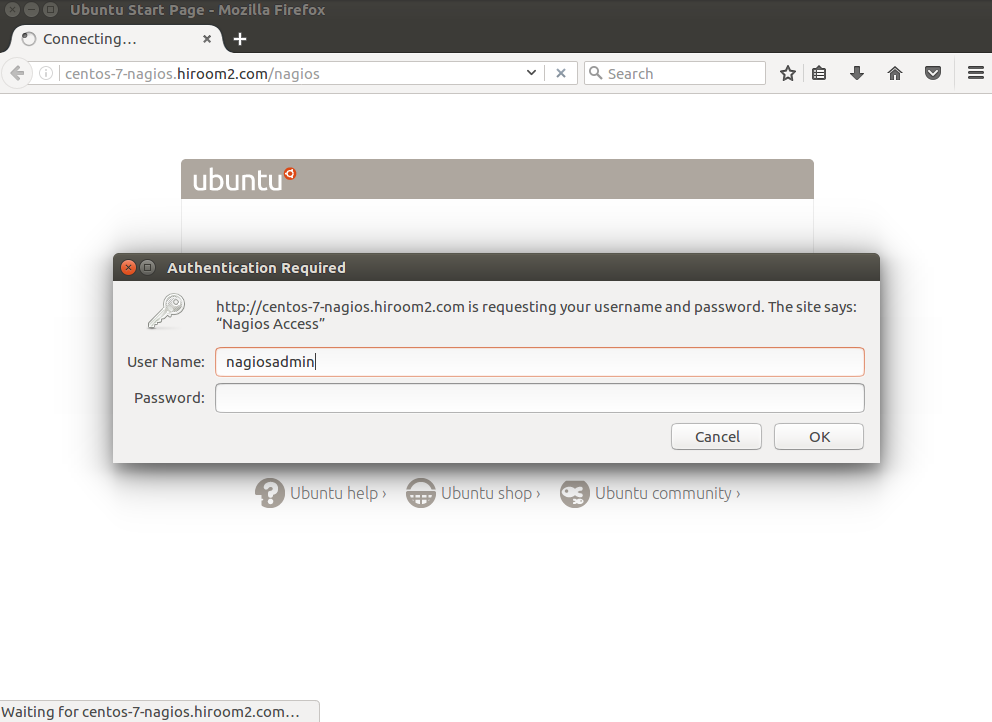
nagiosadminユーザとNAGIOS_PASSWDの値を入力します。

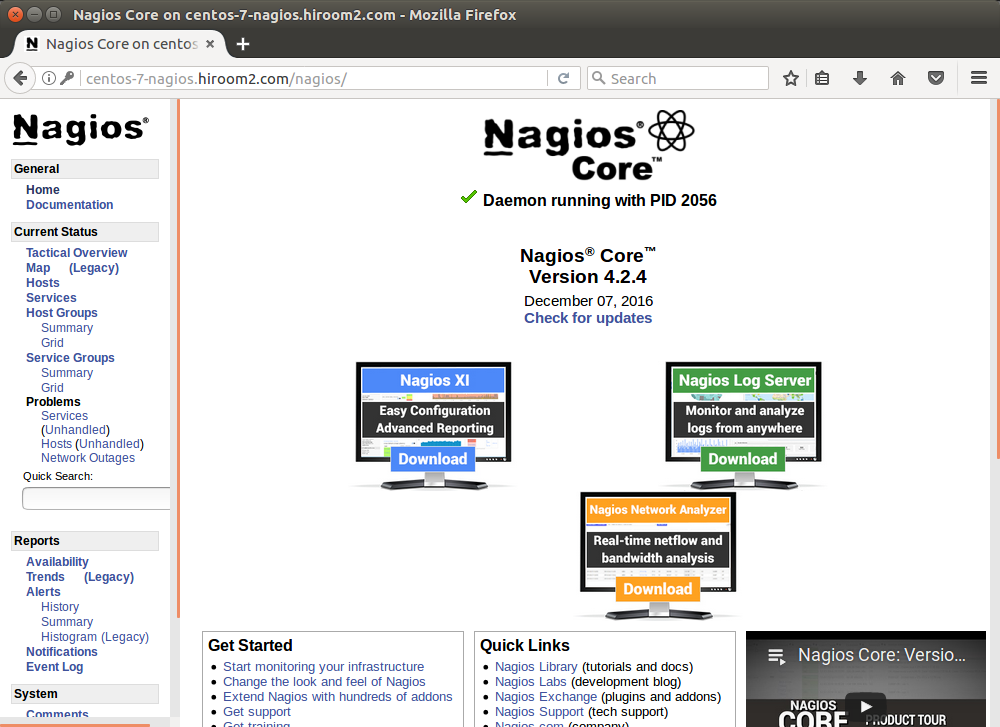
Nagiosの画面が表示されます。
