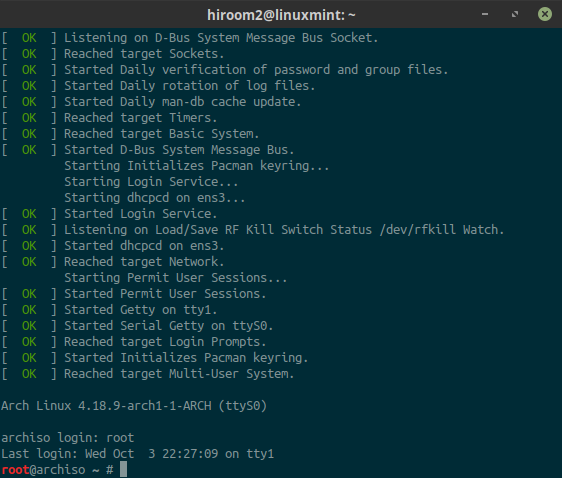
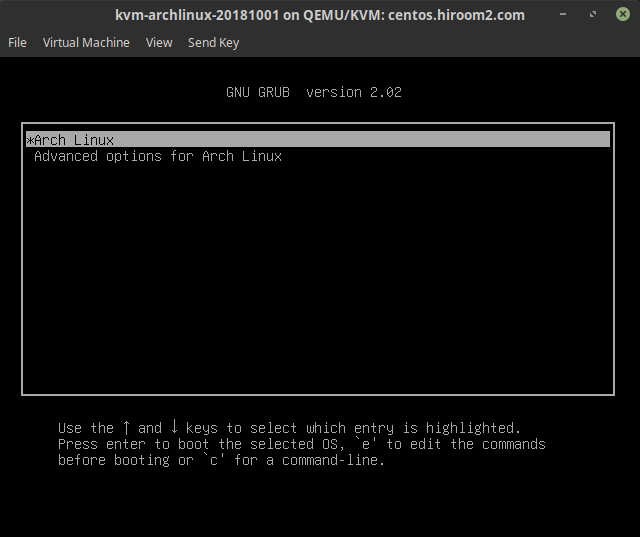
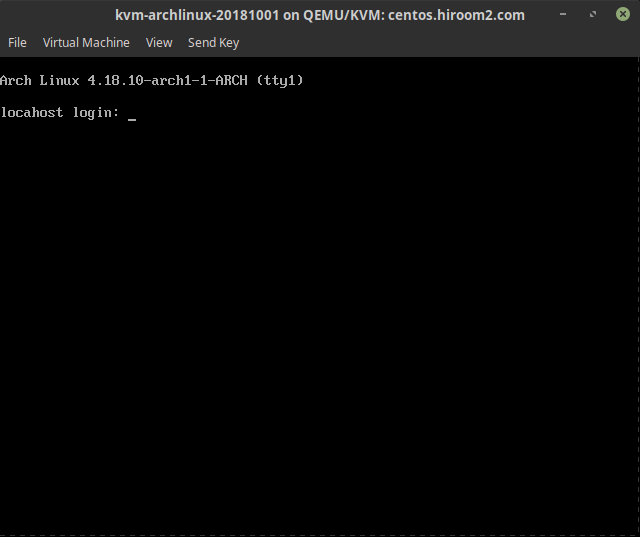
ArchLinuxのインストール手順を記載します。
Table of Contents
1 LiveDVDの取得
ArchLinuxのダウンロードページからミラーサイトを選択し、 archlinux-2018.10.01-x86_64.isoをダウンロードします。
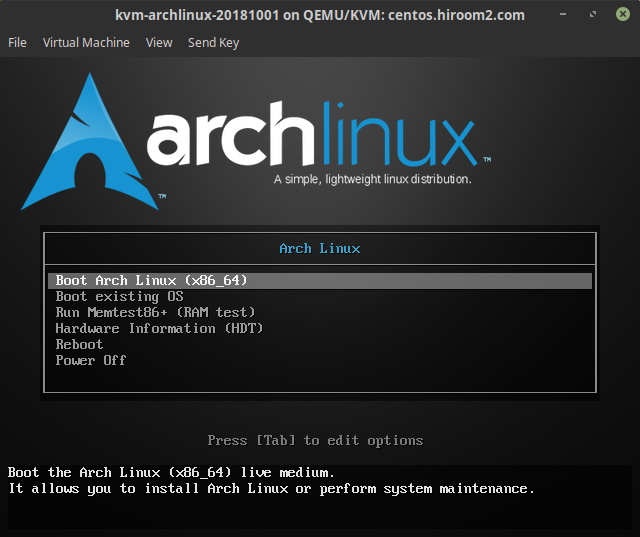
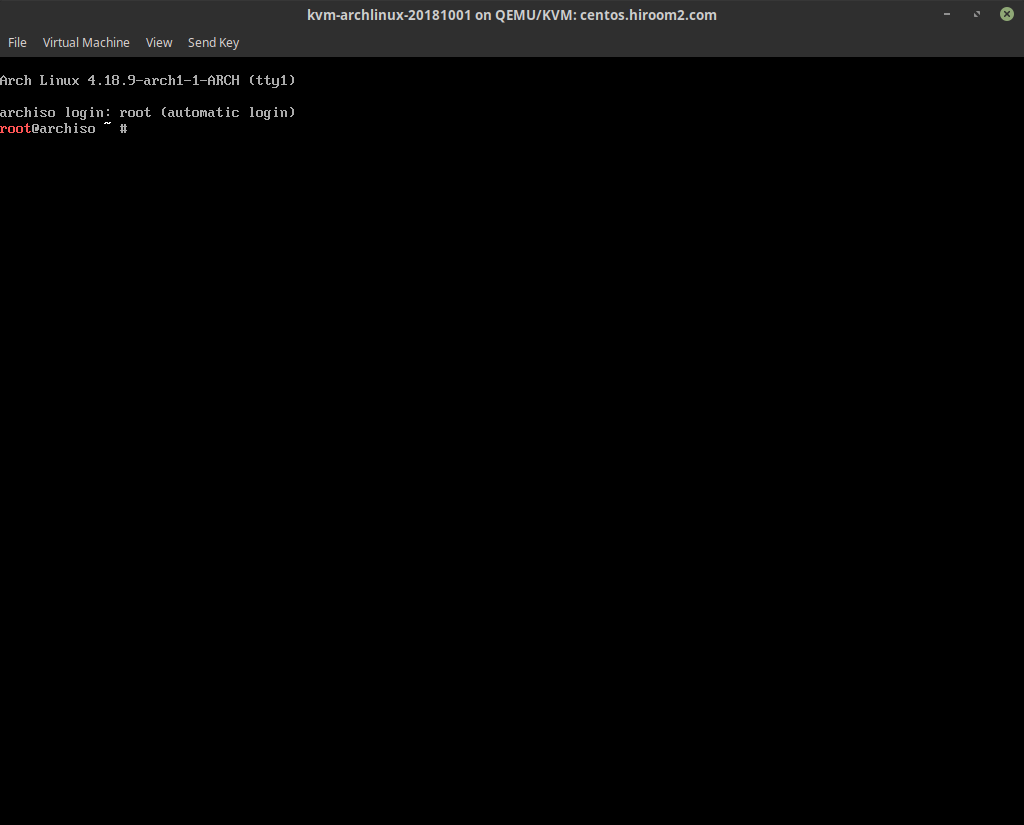
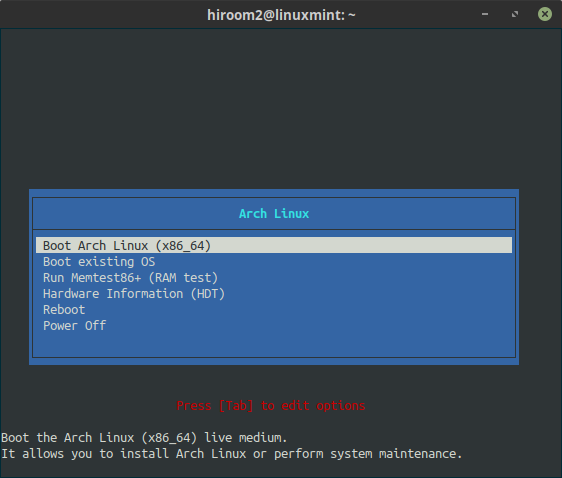
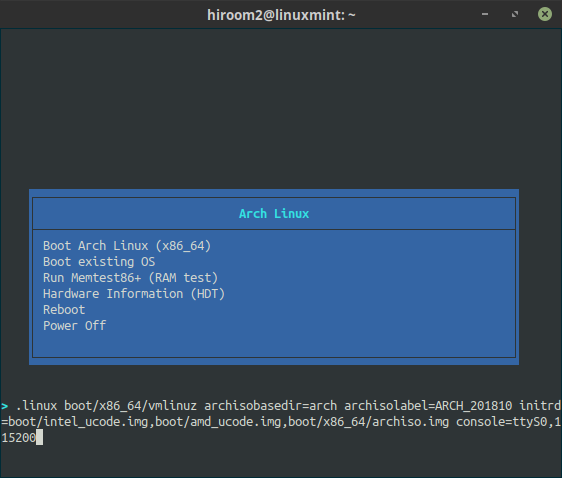
2 LiveDVDの起動
3 LiveDVDでの設定
arch-chrootする前の設定について記載します。
3.1 パーティションの作成
fdisk実行前のパーティションは以下の通りです。 /dev/vdaをお使いの環境のブロックデバイスに変更してください。
# cat /proc/partitions
major minor  #blocks  name

 254        0   10485760 vda
  11        0     535552 sr0
   7        0     417876 loop0
fdiskで/dev/vdaにパーティションを作成します。
# fdisk /dev/vda

Welcome to fdisk (util-linux 2.30.2).
Changes will remain in memory only, until you decide to write them.
Be careful before using the write command.

Device does not contain a recognized partition table.
Created a new DOS disklabel with disk identifier 0xae297af2.

Command (m for help):
/boot用のパーティションを作成します。
Command (m for help): n
Partition type
   p   primary (0 primary, 0 extended, 4 free)
   e   extended (container for logical partitions)
Select (default p): p
Partition number (1-4, default 1): 1
First sector (2048-20971519, default 2048): 2048
Last sector, +sectors or +size{K,M,G,T,P} (2048-20971519,
default 20971519): +256M

Created a new partition 1 of type 'Linux' and of size 256 MiB.
LVM用のパーティションを作成します。
Command (m for help): n
Partition type
   p   primary (1 primary, 0 extended, 3 free)
   e   extended (container for logical partitions)
Select (default p): p
Partition number (2-4, default 2): 2
First sector (526336-20971519, default 526336): 526336
Last sector, +sectors or +size{K,M,G,T,P} (526336-20971519,
default 20971519):

Created a new partition 2 of type 'Linux' and of size 9.8 GiB.
/boot用のパーティションにbootラベルをつけます。
Command (m for help): a
Partition number (1,2, default 2): 1

The bootable flag on partition 1 is enabled now.
LVM用のパーティションにLinux LVMラベルをつけます。
Command (m for help): t
Partition number (1,2, default 2): 2
Partition type (type L to list all types): 8e

Changed type of partition 'Linux' to 'Linux LVM'.
変更を反映させます。
Command (m for help): w
The partition table has been altered.
Calling ioctl() to re-read partition table.
Syncing disks.
パーティションの構成は以下の通りになりました。
# fdisk -l /dev/vda
Disk /dev/vda: 10 GiB, 10737418240 bytes, 20971520 sectors
Units: sectors of 1 * 512 = 512 bytes
Sector size (logical/physical): 512 bytes / 512 bytes
I/O size (minimum/optimal): 512 bytes / 512 bytes
Disklabel type: dos
Disk identifier: 0x7f1f7d19

Device     Boot  Start      End  Sectors  Size Id Type
/dev/vda1  *      2048   526335   524288  256M 83 Linux
/dev/vda2       526336 20971519 20445184  9.8G 8e Linux LVM
3.2 LVMの設定
/dev/vda2にLVM物理ボリュームを作成します。
# pvcreate /dev/vda2
  Physical volume "/dev/vda2" successfully created.
/dev/vda2にvg_archlinuxというLVMボリュームグループを作成します。
# vgcreate vg_archlinux /dev/vda2
  Volume group "vg_archlinux" successfully created
vg_archlinuxに1GBのLVM論理ボリュームlv_swapを作成します。
# lvcreate -L 1G -n lv_swap vg_archlinux
  Logical volume "lv_swap" created.
vg_archlinuxに残りサイズを使ったLVM論理ボリュームlv_rootを作成します。
# lvcreate -l 100%FREE -n lv_root vg_archlinux
  Logical volume "lv_root" created.
LVM論理ボリュームは以下の通りとなります。
# lvdisplay
  --- Logical volume ---
  LV Path                /dev/vg_archlinux/lv_swap
  LV Name                lv_swap
  VG Name                vg_archlinux
  LV UUID                ooRdRU-Z1sm-3oZZ-lWK5-ntE3-2bAp-Vcgf6V
  LV Write Access        read/write
  LV Creation host, time archiso, 2018-10-06 06:25:12 +0000
  LV Status              available
  # open                 0
  LV Size                1.00 GiB
  Current LE             256
  Segments               1
  Allocation             inherit
  Read ahead sectors     auto
  - currently set to     256
  Block device           253:0

  --- Logical volume ---
  LV Path                /dev/vg_archlinux/lv_root
  LV Name                lv_root
  VG Name                vg_archlinux
  LV UUID                yvvRsQ-3ELb-yIdd-kLbC-8hlQ-gdXE-HVpU4D
  LV Write Access        read/write
  LV Creation host, time archiso, 2018-10-06 06:25:34 +0000
  LV Status              available
  # open                 0
  LV Size                <8.75 GiB
  Current LE             2239
  Segments               1
  Allocation             inherit
  Read ahead sectors     auto
  - currently set to     256
  Block device           253:1
3.3 ファイルシステムの作成
/dev/vda1をext4でフォーマットします。
# mkfs.ext4 /dev/vda1
mke2fs 1.43.6 (29-Aug-2018)
Creating filesystem with 262144 1k blocks and 65536 inodes
Filesystem UUID: 1ae02bc4-24eb-4b0f-b2e5-53f3a295cdfa
Superblock backups stored on blocks:
        8193, 24577, 40961, 57345, 73729, 204801, 221185

Allocating group tables: done
Writing inode tables: done
Creating journal (8192 blocks): done
Writing superblocks and filesystem accounting information: done
/dev/vg_archlinux/lv_rootをext4でフォーマットします。
# mkfs.ext4 /dev/vg_archlinux/lv_root
mke2fs 1.43.6 (29-Aug-2018)
Creating filesystem with 2292736 4k blocks and 573440 inodes
Filesystem UUID: eb0a11e4-463d-4bec-8fe5-89b856eeec1b
Superblock backups stored on blocks:
        32768, 98304, 163840, 229376, 294912, 819200, 884736, 1605632

Allocating group tables: done
Writing inode tables: done
Creating journal (16384 blocks): done
Writing superblocks and filesystem accounting information: done
/dev/vg_archlinux/lv_swapをスワップ領域にします。
# mkswap /dev/vg_archlinux/lv_swap
Setting up swapspace version 1, size = 1024 MiB (1073737728 bytes)
no label, UUID=81080828-7edb-4b95-8d88-4ed4d2ee736f
各種ファイルシステムをマウントします。
# mount -t ext4 /dev/vg_archlinux/lv_root /mnt
# mkdir /mnt/boot
# mount -t ext4 /dev/vda1 /mnt/boot
# swapon /dev/vg_archlinux/lv_swap
3.4 パッケージのインストール
pacstrapでbase、sudo、grub、lvm2、openssh、havegedをインストールします。havegedはopensshで利用する乱数を起動時に自動的に初期化する為に必要です。
# pacstrap /mnt base sudo grub lvm2 openssh haveged
==> Creating install root at /mnt
==> Installing packages to /mnt
:: Synchronizing package databases...
base等のパッケージグループの詳細についてはこちらを御覧ください。
3.5 fstabの作成
genfstabで/etc/fstabを作成します。
# genfstab -p /mnt > /mnt/etc/fstab
4 arch-chrootでの設定
arch-chrootで作成したルートファイルシステムにchrootします。
# arch-chroot /mnt
#
4.1 サービスの登録
dhcpcd.service、sshd.service、haveged.serviceをサービスとして登録します。
# ln -s /usr/lib/systemd/system/dhcpcd.service \
/etc/systemd/system/multi-user.target.wants/dhcpcd.service
# ln -s /usr/lib/systemd/system/sshd.service \
/etc/systemd/system/multi-user.target.wants/sshd.service
# ln -s /usr/lib/systemd/system/haveged.service \
/etc/systemd/system/multi-user.target.wants/haveged.service
4.2 ホスト名の設定
/etc/hostnameにホスト名を記載します。
# echo localhost > /etc/hostname
4.3 localeの作成
/etc/locale.genと/etc/locale.confを作成します。この記事ではen_US.UTF-8を使用します。
# sed -e 's/^#en_US.UTF-8 UTF-8/en_US.UTF-8 UTF-8/g' \
  -i /etc/locale.gen
# locale-gen
Generating locales...
  en_US.UTF-8... done
Generation complete.
# echo "LANG=en_US.UTF-8" > /etc/locale.conf
4.4 rootのパスワード設定
rootのパスワードを設定します。
# passwd
Enter new UNIX password:
Retype new UNIX password:
passwd: password updated successfully
4.5 sudoの設定
%wheel前の#を消します。
# sed -i /etc/sudoers \
  -e 's/^# %wheel ALL=(ALL) NOPASSWD: ALL/%wheel ALL=(ALL) NOPASSWD: ALL/g'
4.6 ユーザの作成
ユーザを作成します。
# useradd -m hiroom2
パスワードを設定します。
# passwd hiroom2
Enter new UNIX password:
Retype new UNIX password:
passwd: password updated successfully
sudoを使えるようにwheelグループに所属させます。
# gpasswd -a hiroom2 wheel
Adding user hiroom2 to group wheel
4.7 initramfsの作成
initramfsでlvm2のスクリプトを読み込むようにします。
# sed -e 's;^HOOKS=(\(.*\));HOOKS=(\1 lvm2);g' \
  -i /etc/mkinitcpio.conf
mkinitcpioでinitramfsを作成します。
# mkinitcpio -p linux
==> Building image from preset: /etc/mkinitcpio.d/linux.preset: 'default'
  -> -k /boot/vmlinuz-linux -c /etc/mkinitcpio.conf -g
/boot/initramfs-linux.img
==> Starting build: 4.13.3-1-ARCH
  -> Running build hook: [base]
  -> Running build hook: [udev]
  -> Running build hook: [autodetect]
  -> Running build hook: [modconf]
  -> Running build hook: [block]
  -> Running build hook: [filesystems]
  -> Running build hook: [keyboard]
  -> Running build hook: [fsck]
  -> Running build hook: [lvm2]
==> Generating module dependencies
==> Creating gzip-compressed initcpio image: /boot/initramfs-linux.img
==> Image generation successful
==> Building image from preset: /etc/mkinitcpio.d/linux.preset: 'fallback'
  -> -k /boot/vmlinuz-linux -c /etc/mkinitcpio.conf -g
/boot/initramfs-linux-fallback.img -S autodetect
==> Starting build: 4.13.3-1-ARCH
  -> Running build hook: [base]
  -> Running build hook: [udev]
  -> Running build hook: [modconf]
  -> Running build hook: [block]
==> WARNING: Possibly missing firmware for module: aic94xx
==> WARNING: Possibly missing firmware for module: wd719x
  -> Running build hook: [filesystems]
  -> Running build hook: [keyboard]
  -> Running build hook: [fsck]
  -> Running build hook: [lvm2]
==> Generating module dependencies
==> Creating gzip-compressed initcpio image:
/boot/initramfs-linux-fallback.img
==> Image generation successful
4.8 GRUBのインストール
カーネル起動パラメータroot=にUUID=xxxではなく/dev/xxxを用いるようにします。
# sed -i /etc/default/grub \
  -e 's/^#GRUB_DISABLE_LINUX_UUID=true/GRUB_DISABLE_LINUX_UUID=true/g'
GRUBをインストールします。
# grub-install --boot-directory=/boot /dev/vda
Installing for i386-pc platform.
Installation finished. No error reported.
grub.cfgを更新します。
# grub-mkconfig -o /boot/grub/grub.cfg
Generating grub configuration file ...
  WARNING: Failed to connect to lvmetad. Falling back to device scanning.
  WARNING: Failed to connect to lvmetad. Falling back to device scanning.
  WARNING: Failed to connect to lvmetad. Falling back to device scanning.
  WARNING: Failed to connect to lvmetad. Falling back to device scanning.
  WARNING: Failed to connect to lvmetad. Falling back to device scanning.
  WARNING: Failed to connect to lvmetad. Falling back to device scanning.
  WARNING: Failed to connect to lvmetad. Falling back to device scanning.
  WARNING: Failed to connect to lvmetad. Falling back to device scanning.
  WARNING: Failed to connect to lvmetad. Falling back to device scanning.
  WARNING: Failed to connect to lvmetad. Falling back to device scanning.
Found linux image: /boot/vmlinuz-linux
Found initrd image(s) in /boot: initramfs-linux.img
Found fallback initrd image(s) in /boot: initramfs-linux-fallback.img
done
LiveDVDを再起動して、インストールしたArchLinuxを起動します。
# exit
# umount /mnt/boot
# umount /mnt
# reboot
